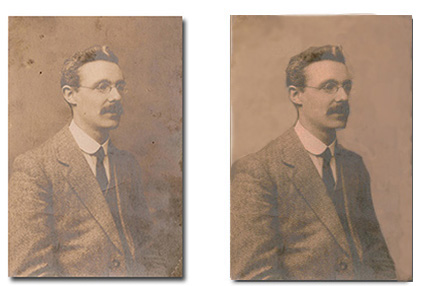
Restoration
Before After Before After
Magic Eye Image
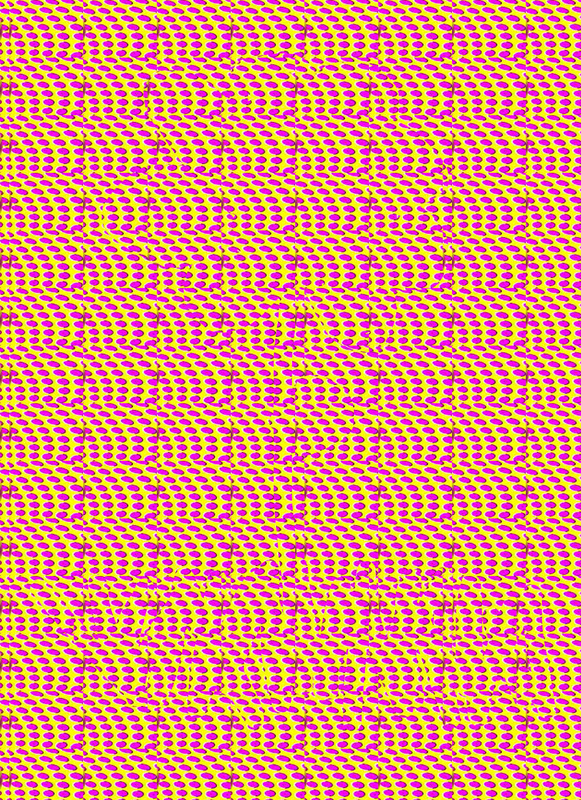
For this project, we copied a pattern in photoshop and put it on a larger piece of paper. To make it seem like there is a picture behind it, I made a copy of the first layer and then drew a picture of a flower using the eraser. Then, I moved the top layer of the image so that the pattern did not line up with the first layer and so you would able to see the erased image behind it, making it appear to be "magic".
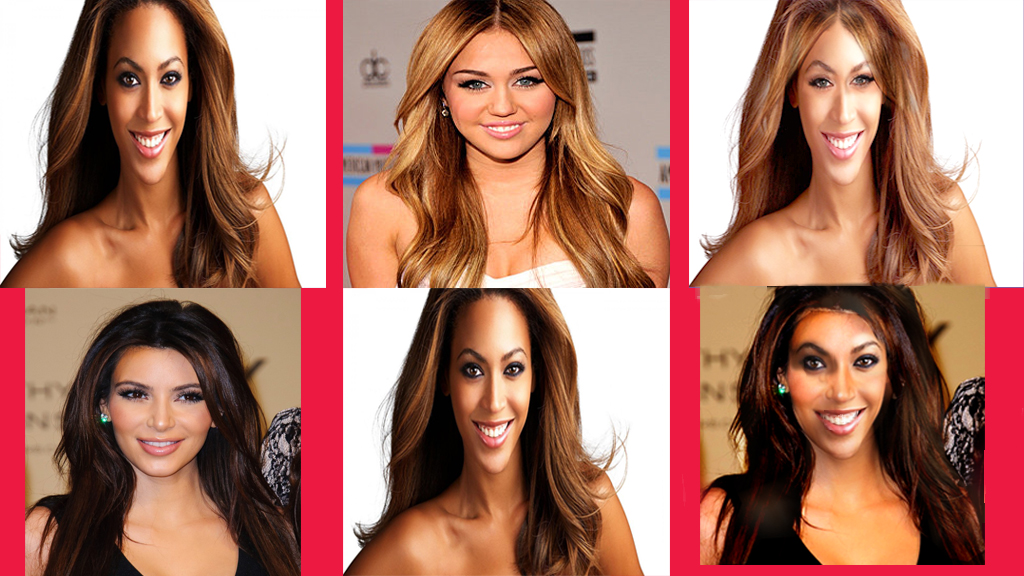
Morphing Images
Mirrored Street
Before After
Before After
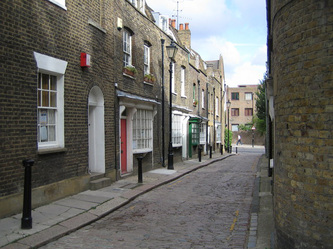
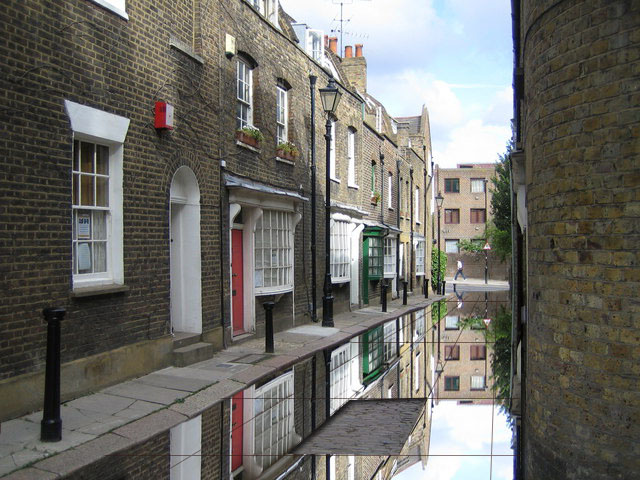
For this exercise, we had to use the artistic style of Eric Johansson who has a famous picture of buildings that are mirrored in a street. To do this, we needed to take the buildings and copy and paste them to make it match up on the street and with the buildings. To do this, we needed to use the skew tool. After that was lined up, we needed to create lines on the mirrored pavement to match up with where the viewer of the image looks at the street. Then, we had to erase part of the street that was mirrored in order to create the same effect the Johansson did in his image. That is why there is a cobblestone piece in the middle of the street. This activity tested our knowledge of photoshop and how well we could use it.
Restoring Army Image
Before After
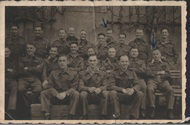
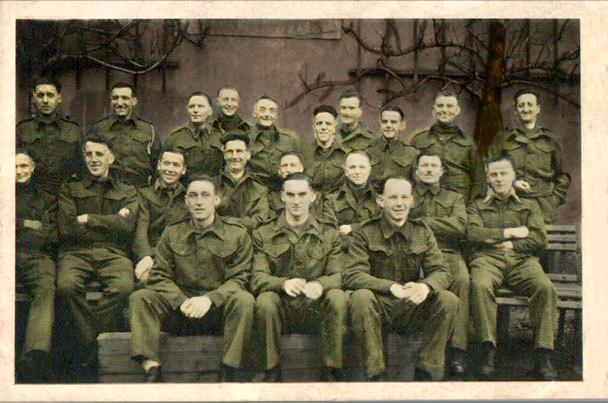
For this picture, we had to make an army photo that had been destroyed and in different colors (top) into something that similar to the bottom image. We had to use image adjustments such as adding different colors and adjusting the levels to fix them. We also had to use copy and paste and the clone stamp to fix the ripped and parts of the picture that was colored on before hand.
Distorting Images
Before adding pictures After adding pictures
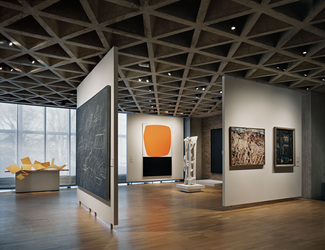
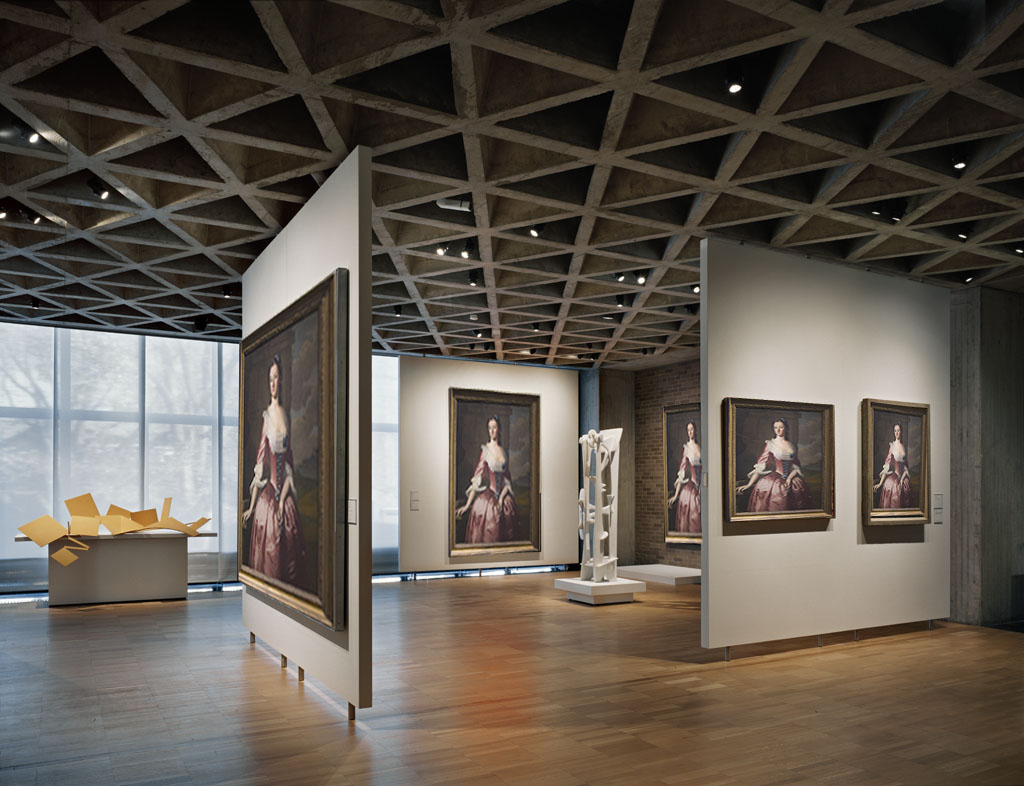
For this assignment, we had to put this picture of a girl in a dress on each of the four walls to make it look like it was hanging there. In order to do this, we had to use the distortion tool to line up the picture with the images that were there prior to putting this image on the walls. Also, I had to cut one of the images in order to make it so that it still looked like the wall next to it was overlapping it in the image.
Model with and without makeup
Before restoration After restoration
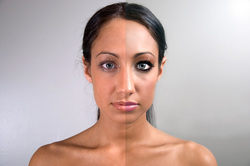
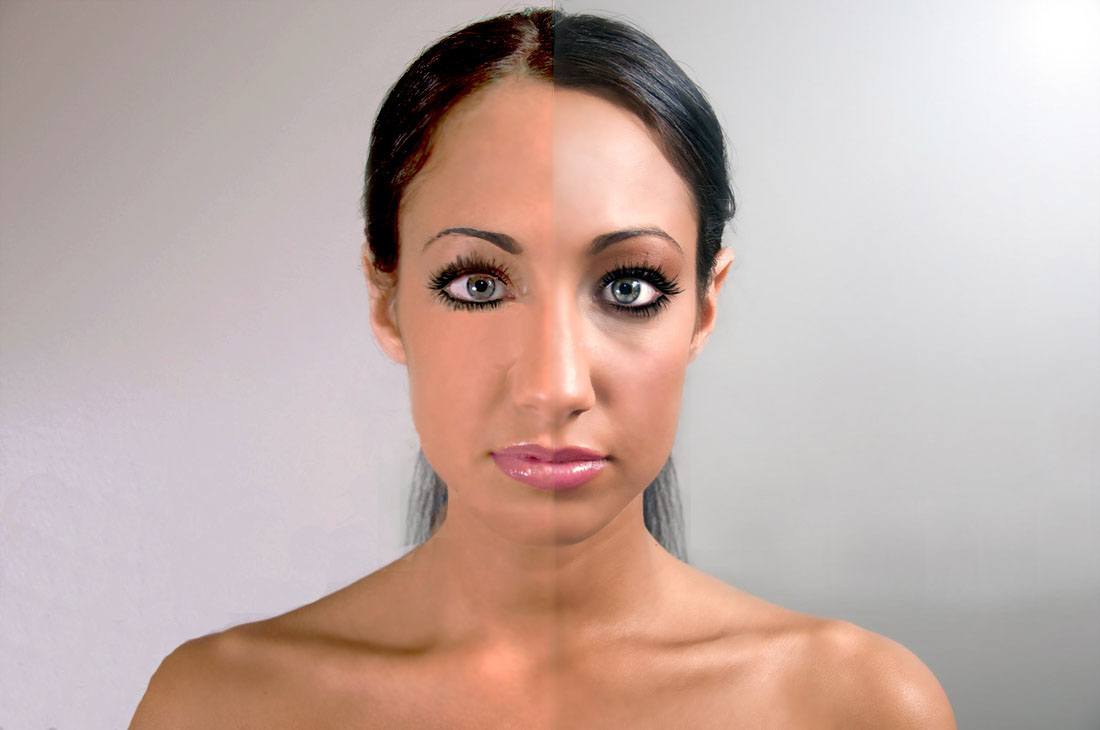
For this assignment, we used a model without makeup and had half of her face with makeup. We had to make the side with no makeup look like the side of the picture with makeup without using copy and paste or the clone stamp to bring one side and make it the same as the other one. I used adjustments and color balance and levels to make the skin match up. Then I painted on the eyelashes and then blurred then to make the eye look the same as the side with makeup.
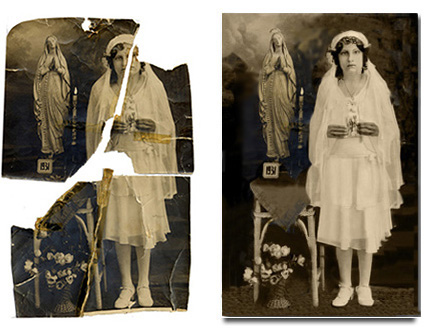
Restoring Images
Before After
Before After
Baseball Card Restoration
Before After
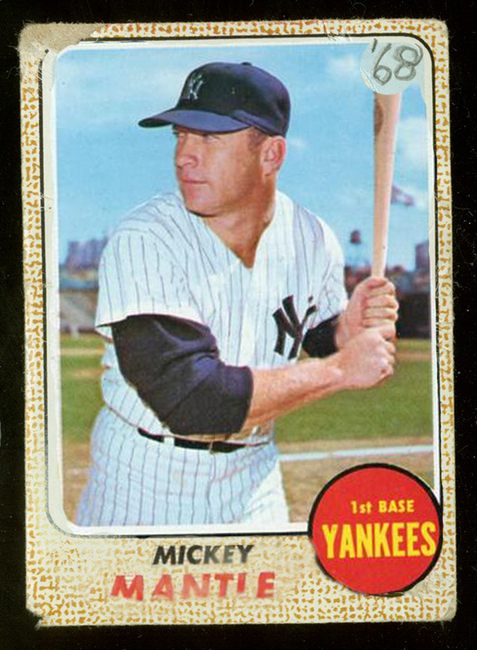
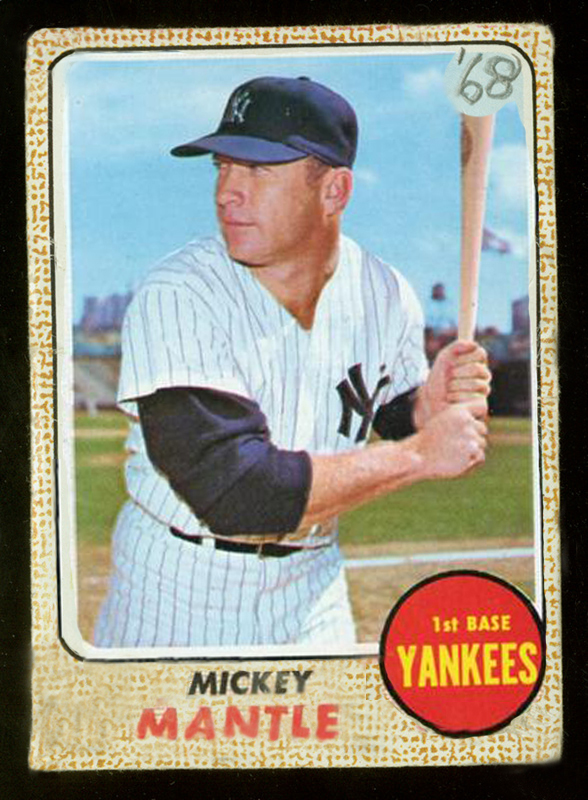
After looking at this valuable card ripped, we were told to bring it back to its original condition in Adobe Photoshop. Using the controls copy, paste, and clone stamp we made the card look as good as new.
Three kids Restoration
Before After
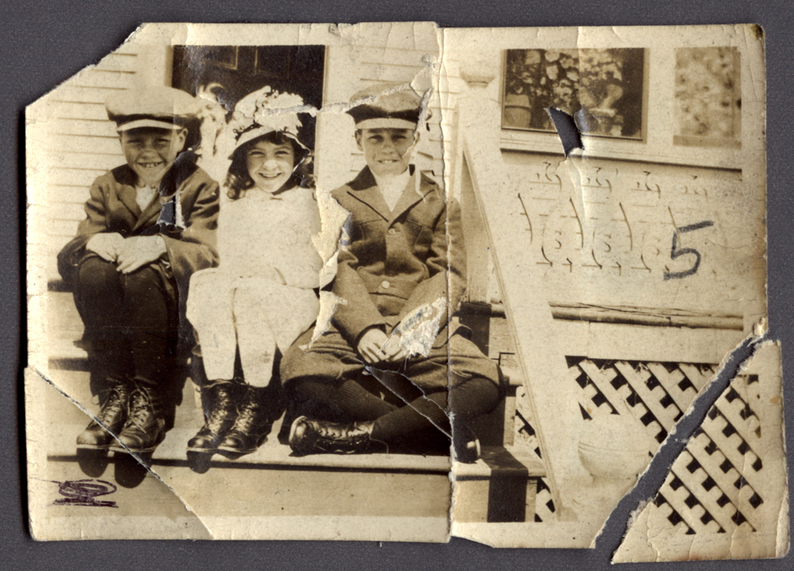
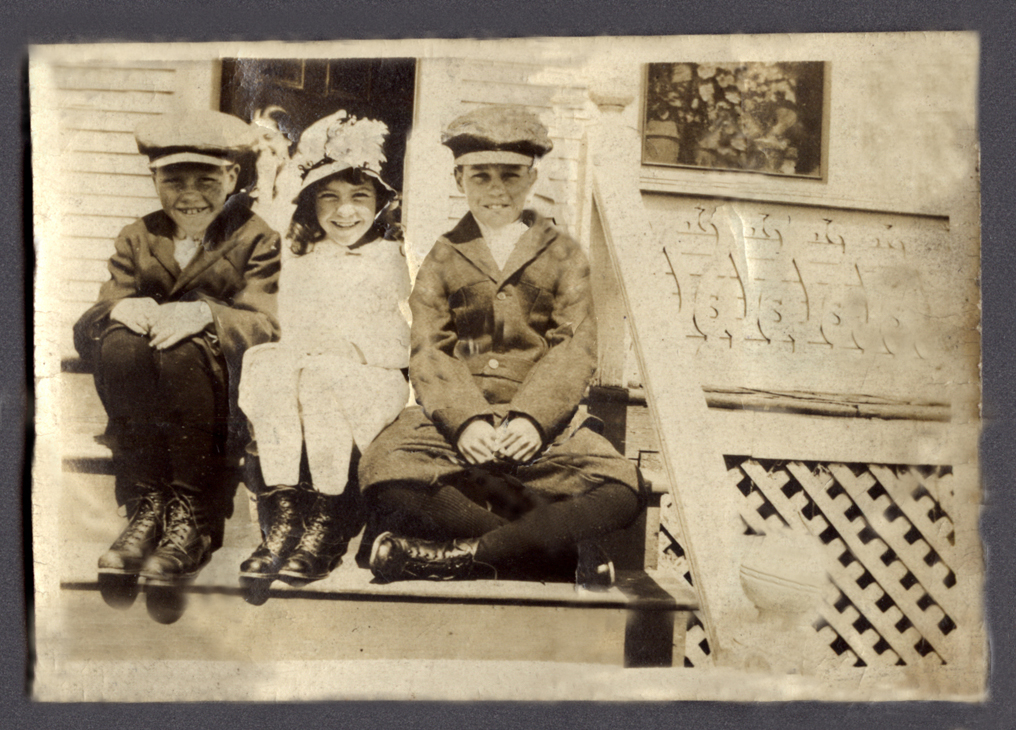
We fixed the cracked and ripped image above and made it look like the images were not damaged in the first place using Adobe Photoshop. Using the copy and paste tool, we pasted parts of images that looked the same to match the parts of the photo that were damaged.
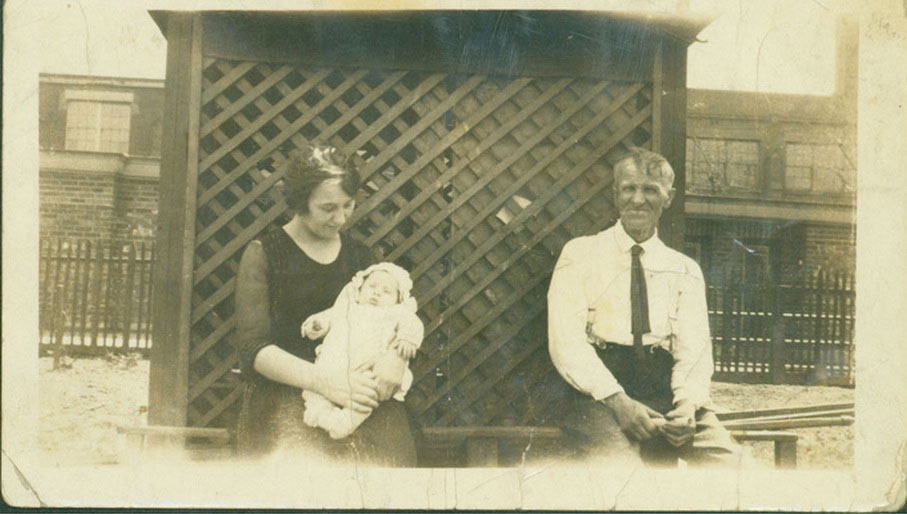
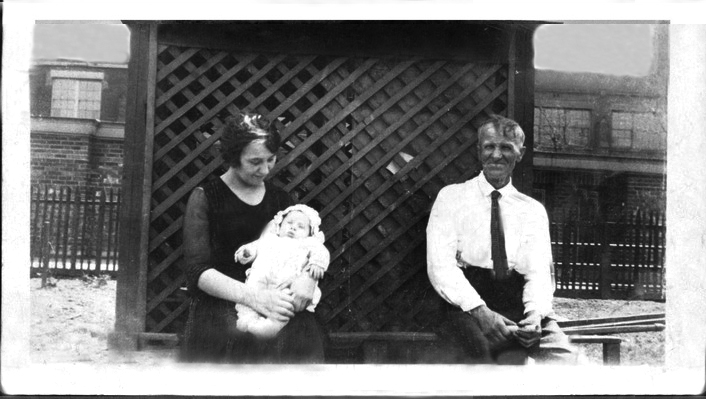
Marriage Restoration Image
Before After
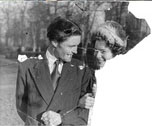
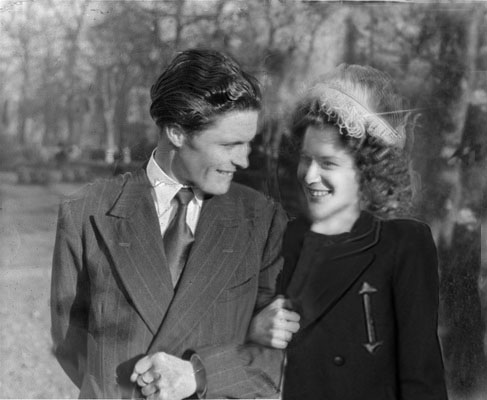
Above is a picture that we adjusted in Photoshop. The bottom half used to be torn and cracked but we were told to fix it and make it look like the top image. To do this, we had to find a coat on Google that we could put on the woman. Then we had to fix the image to make it look as close to the image as it did. Here was a description of the exercise...
